----------------------------------------------------------------------------
DATE: July 11, 1985
REVISION DATE: July 11, 1985
BULLETIN NO.: 12/16B:44
PRODUCT: 26-6004/5/6 Model 16B
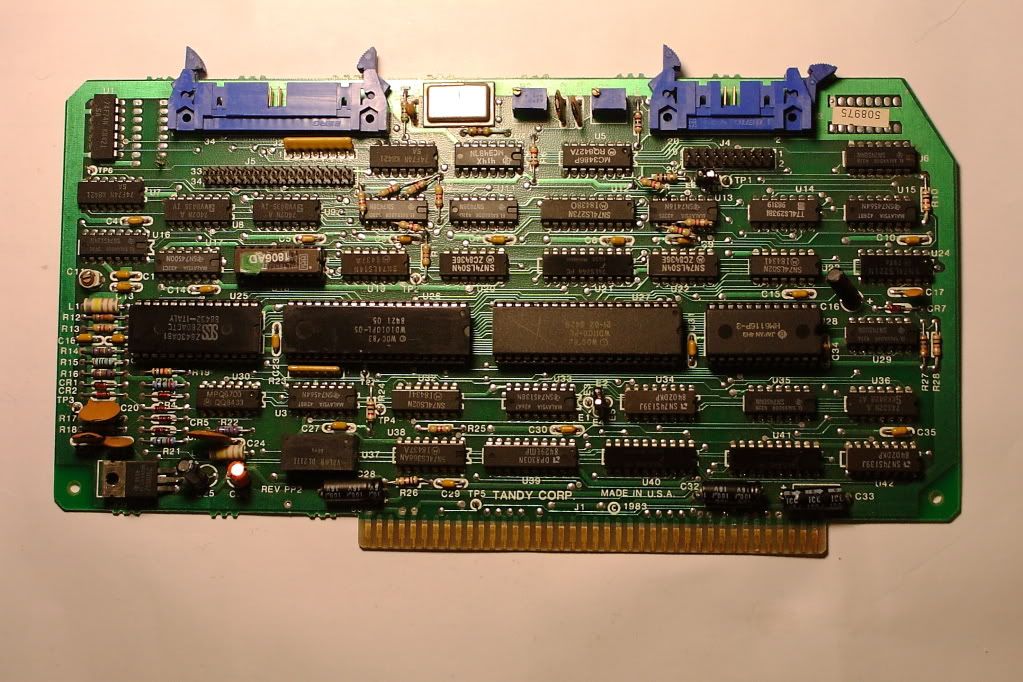
SUBASSEMBLY: AX-9416 6 MHz (short) 68000 CPU board (All Revisions)
----------------------------------------------------------------------------
PURPOSE: Describe modifications to allow XENIX 3.0 to run on a
6MHz CPU board.
----------------------------------------------------------------------------
DISCUSSION: The following describes the procedures for modifying 6 MHz,
or "slow" 68000 CPU boards to allow the running of XENIX
System 3. It is important to note that this modification
applies only to the "short" 68000 CPU's only.
The "long" 68000 CPU boards cannot be modified to run
XENIX System 3. [Although it was technically possible. - Ed]
The terms "long" and "short" 68000 CPU board refers to the
width of the board itself. These boards can also be identified
by the component location number silk screened on the board.
For "long" boards, the 68000 processor is located at U22.
On the "short" boards it is at U19.
----------------------------------------------------------------------------
PROCEDURE:
NOTE: The parts required for this upgrade will be supplied in the upgrade kit.
1. Install the new PAL in U36.
a.) Remove the old PAL in the U36 position on the 6MHz 68000 CPU
board.
b.) On the new PAL (U36), bend pin 5 up so as not to come in
contact with the socket when installed.
c.) Install new PAL U36 (device number 3646D4, or 46D4)
d.) Jump U36 pin 5 to U25 pin 9.
2. BERR modification.
a.) On the SOLER SIDE, cut trace at U21 pin 9.
b.) Jump U9 pin 4 to U33 pin 13.
3. Install the new U48 PAL.
a.) Remove old U48 PAL (device type 16R6)
b.) Install new U48 PAL (decice type 16R4) This new PAL
will have check sum 483999 stamped on top.
4. WAIT modification.
a.) Add 330pf cap from the ground end of C43 to the feed-thru
near the 5 volt end of C37 (this feed-thru is hooked to
TP-28).
b.) On the SOLDER SIDE of the board, add a ground strap jumper
(22-24 gauge stranded wire) from the ground end of C29 to the
ground end of C28.
5. Configure the refresh jumper to E1-E2 (E2 is the middle pin).
6. Ensure compliance with ALL other Technical Bulletins, paying
particular attention to the following:
12/16B:10
12/16B:23
12/16B:24
12/16B:39
12/16B:40
7. Reassemble unit and test with 68000 diagnostics and XENIX 3.0
[or later].
REPLACEMENT PARTS LIST
New PAL U36 MX-2125 26-6021 (REPAIR PART ONLY)
New PAL U48 MX-2124 26-6021
330pf capacitor CF-1830 26-9999C
Ground Wire Use 22-24 gauge insulated stranded wire.
----------------------------------------------------------------------------