1ajs
Experienced Member
when ur saying + v i was not picking up on those spots on the board ur talking about never even occured to me sorry its a searious of stupid questions from someone whos very green. gotta start somewhere
| VCF West | Aug 01 - 02 2025, | CHM, Mountain View, CA |
| VCF Midwest | Sep 13 - 14 2025, | Schaumburg, IL |
| VCF Montreal | Jan 24 - 25, 2026, | RMC Saint Jean, Montreal, Canada |
| VCF SoCal | Feb 14 - 15, 2026, | Hotel Fera, Orange CA |
| VCF Southwest | May 29 - 31, 2026, | Westin Dallas Fort Worth Airport |
| VCF Southeast | June, 2026 | Atlanta, GA |
gotta start somewhere

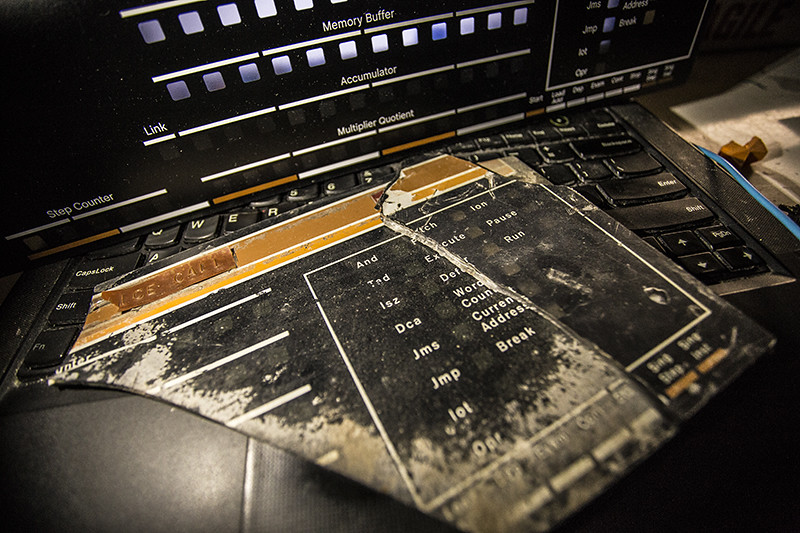
does this look right?
not all the pins seem to do anything?
havent had succes with lighting them all at once is there a specific pin to suggest trying?
With a bulb panel, there's a trick where you power it up backwards and all the lamps light. That won't work for you because the LEDs will only pass current in the correct direction.
So one at a time is all you get, unless you can fit a connector and then apply current to several transistor base leads at once.
Vince


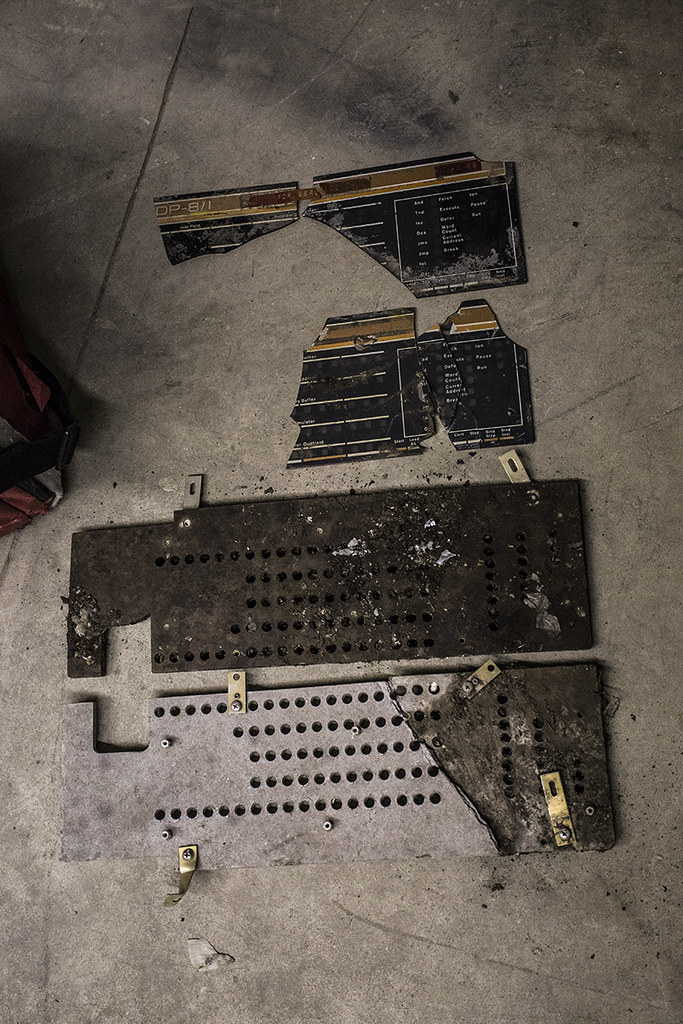
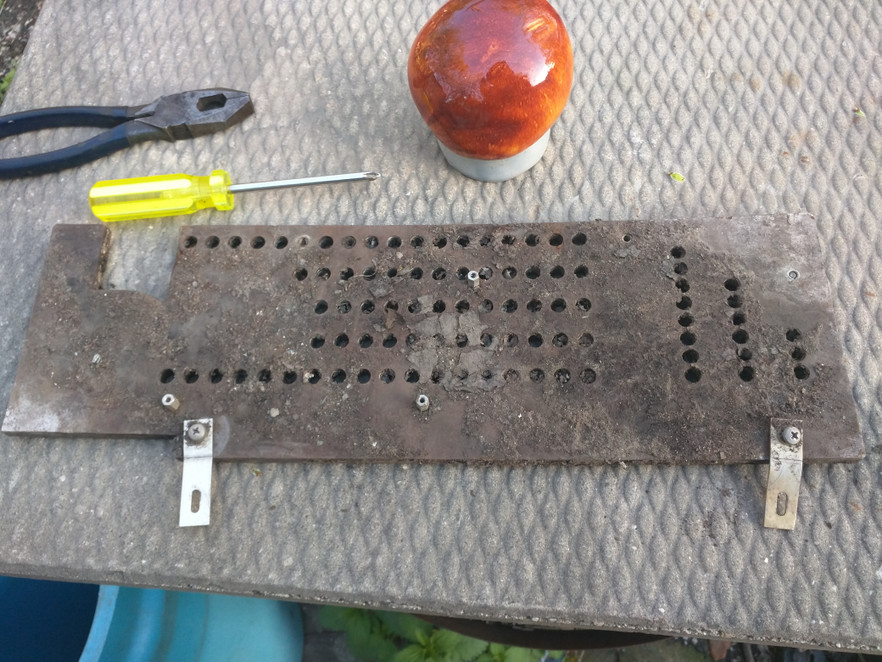
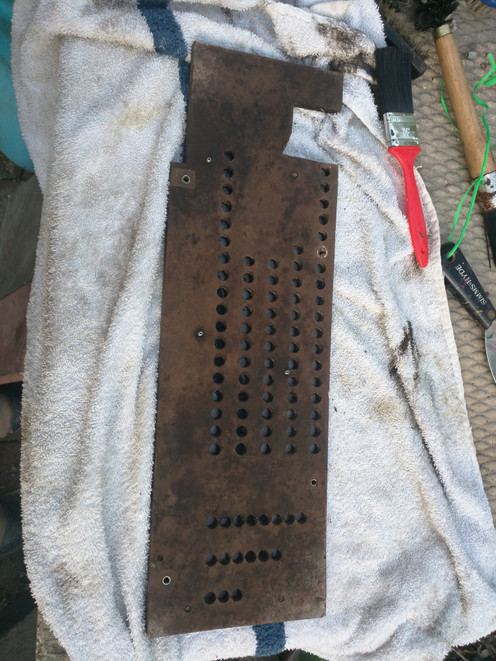


thats only an end card of a core stack


